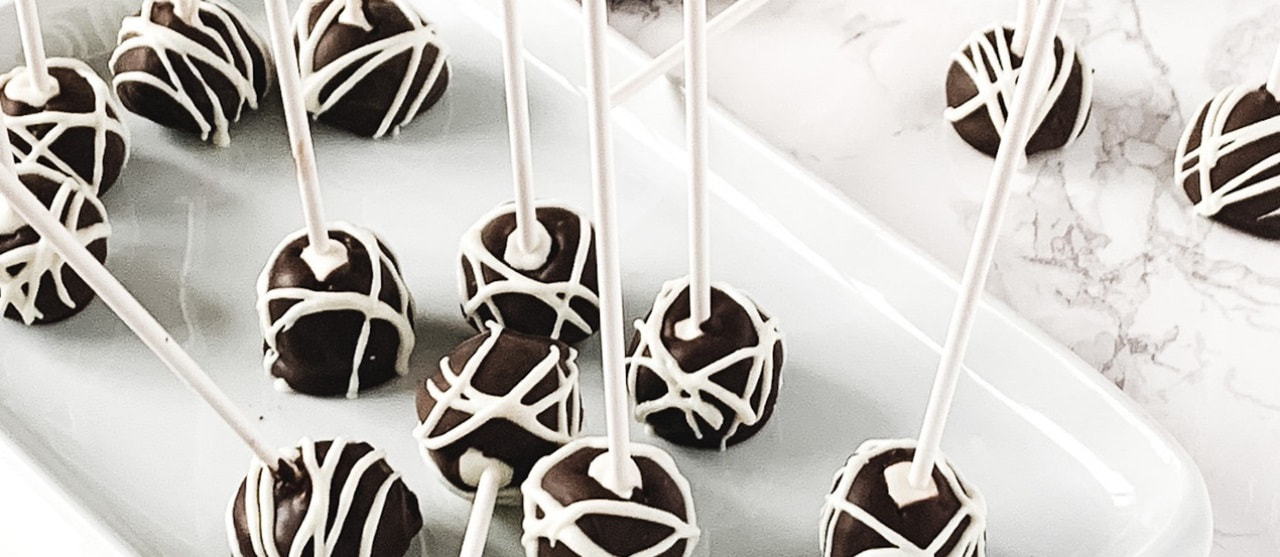
Anyone else just not Pinterest-y at all but really wish they were? I am not but I do love to pretend that I am. That is why I love a good faux Pinterest project. This is one of those pretend-you-are-a-Pinterest-person treats; it requires only 2 ingredients and can be as complicated or fancy as you want it to be.
The beauty of these cake pops is that they have only 2 ingredients and the trick to making them look (at least semi) cute is to chill them in the fridge in between each step. Side note—that is the trick for so many baking projects.
These cake pops are simply store bought cake donuts mashed up and covered in chocolate. The donuts can be from a grocery store like Trader Joes or from a bakery (but really if you are going all the way to a real bakery, just eat the donuts, don’t waste time making cake pops). The one rule when picking out your donuts is to go for cake donuts (like an old fashioned style donut) rather than yeast donuts (like a plain glazed). A yeast donut just won’t work for this type of pop.
With all of that out of the way, let’s get started!
2-Ingredient Cake Pops
Ingredients
- Store Bought Cake Donuts—1 average-sized donut makes 4-5 cake pops
- Melting Chocolate or Candy Melts—I use chocolate and white chocolate candy melts
Tools
- Bowl
- Potato Masher, or other mashing tool
- Cake pop sticks—these are what I use
- Optional: Cookie scoop—I like this 2-teaspoon scoop by Oxo
Directions
- Start by placing donuts in a medium-sized bowl and mashing them up using your masher of choice.
- Once they are pretty smushed up, begin scooping. I used a 2-tsp scoop. You can also just use your hands or a spoon, whatever you have on hand works (also whatever shape you want works). Just make sure you don’t overwork them or press too hard—they are pretty delicate and can easily fall apart. I found that even rolling them between my hands with anything more than a tiny bit of pressure was asking for crumbles.
- Once the balls are formed, place them in the fridge to firm up for about 10 minutes. While they are in the fridge, begin melting your chocolate however the packaging recommends.
- When melted, make sure to let the chocolate cool a bit. I got too eager with one and it made the whole ball fall apart.
- Once chocolate is cooled a bit, remove the balls from the fridge. Take a cake pop stick and dip one end into the melted chocolate, then take the chocolate dipped end and stick it into the cake pop (about ¾ of the way in). The chocolate will work as a glue to hold the stick in place.
- Once all of the sticks are in place, put the balls back into the fridge for another few minutes. You want the sticks to be pretty cemented in there before you start dipping the whole cake pop in chocolate.
- Once set, which should be pretty quick, begin dipping the whole cake pop in the melted chocolate. Move very gently and slowly so the pops don’t break apart. Then place them on a plate or some parchment paper to cool and set in the fridge. I chose to have mine cool ball-side down, but some people prefer to have them cool ball-side up.*
- At this point, the cake pops are technically done. BUT, if you want to go the faux-Pinterest extra mile, you can drizzle a different kind of chocolate on top or add sprinkles or nuts—the world is your oyster here.*
- Once fully set, these babies are done. Let me tell you, as someone who doesn’t love a normal cake pop, these are my JAM.
*Tips
- If you want your cake pops to be perfectly round, have them cool/set ball-side up. You can either make some sort of popsicle stick holder, or place them into drinking glasses stick-side down. If you use glasses, you can fit at least 2 cake pops per cup, just make sure they aren’t touching one another.
- Another option for rounder cake pops is to use donut holes, no mashing involved! I would recommend to still go for cake donut holes rather than a yeast style—this will keep the cake pops “cakey”.
- For drizzling melted chocolate, I used a small squeeze bottle like thesebut you can use a spoon or fork to drizzle, or a ziplock bag where you snip one of the bottom corners with scissors.
See more of my fun food creations on Instagram @katesrulesoforder and make sure to share your treats by using the hashtags #stuytown #beamliving and #katesrulesoforder.
Written by Kate Roth

